

If you’ve decided to enhance your home’s curb appeal, security, or privacy with a vinyl fence, congratulations—you’ve made a fantastic choice! Vinyl fences are durable, low-maintenance, and incredibly versatile, making them a top choice for homeowners across the country. At ReVamp Fence & Deck, we know that the thought of any installation process can sometimes feel overwhelming. That’s why we’re here to walk you through what you can expect when installing a vinyl fence. By the end of this guide, you’ll feel confident and ready to take your outdoor space to the next level.
Why Vinyl Fencing? Quick Overview of the Benefits
Before we jump into the process, let’s quickly highlight why vinyl fencing is such a great investment for your home.
- Low Maintenance: Forget about constant painting or sealing. A simple rinse with a garden hose will keep your fence looking pristine.
- Durability: Vinyl fences are designed to withstand weathering, pests, and even UV rays without rotting or fading.
- Aesthetic Appeal: Choose from a variety of colors, textures, and styles to perfectly complement your home.
- Long-Term Value: It’s a great choice for homeowners looking for a cost-effective, long-lasting fencing option.
Step-by-Step Guide to the Vinyl Fence Installation Process
1. Consultation and Planning
The first step in installing your vinyl fence is getting in touch with a trusted fence company like ReVamp Fence & Deck. During the consultation, you’ll discuss your goals, needs, and preferences. This includes selecting the style and color of your fence, determining the placement, and checking property lines.
We’ll also address some important considerations, including:
- HOA or Local Regulations: We’ll confirm if there are any restrictions regarding fencing height, color, or placement in your area.
- Utility Lines: We’ll locate buried utility lines to ensure safety during installation.
- Measurements: Accurate site measurements will help us create a detailed plan for your fence.
2. Prepping the Site
Once the design is finalized, it’s time to prepare your yard for vinyl fence installation. Here’s what this phase involves:
- Marking Boundaries: We’ll mark the fence line and stake where each post will go.
- Clearing the Area: Any obstructions like rocks, plants, or debris will be removed to ensure a smooth and level surface.
- Permits, if Needed: Some municipalities require a permit for fence installation. ReVamp Fence & Deck can guide you through this process.
3. Post Installation
Fence posts provide the foundation for your vinyl fence, and this step ensures they are installed securely and perfectly aligned. Here’s how we do it:
- Holes are dug at precise intervals along the fence line.
- Posts are placed into the ground and secured with concrete. This ensures long-term stability and resistance to shifting over time.
- Leveling is critical at this stage to keep your fence straight and visually appealing.
4. Panel Installation
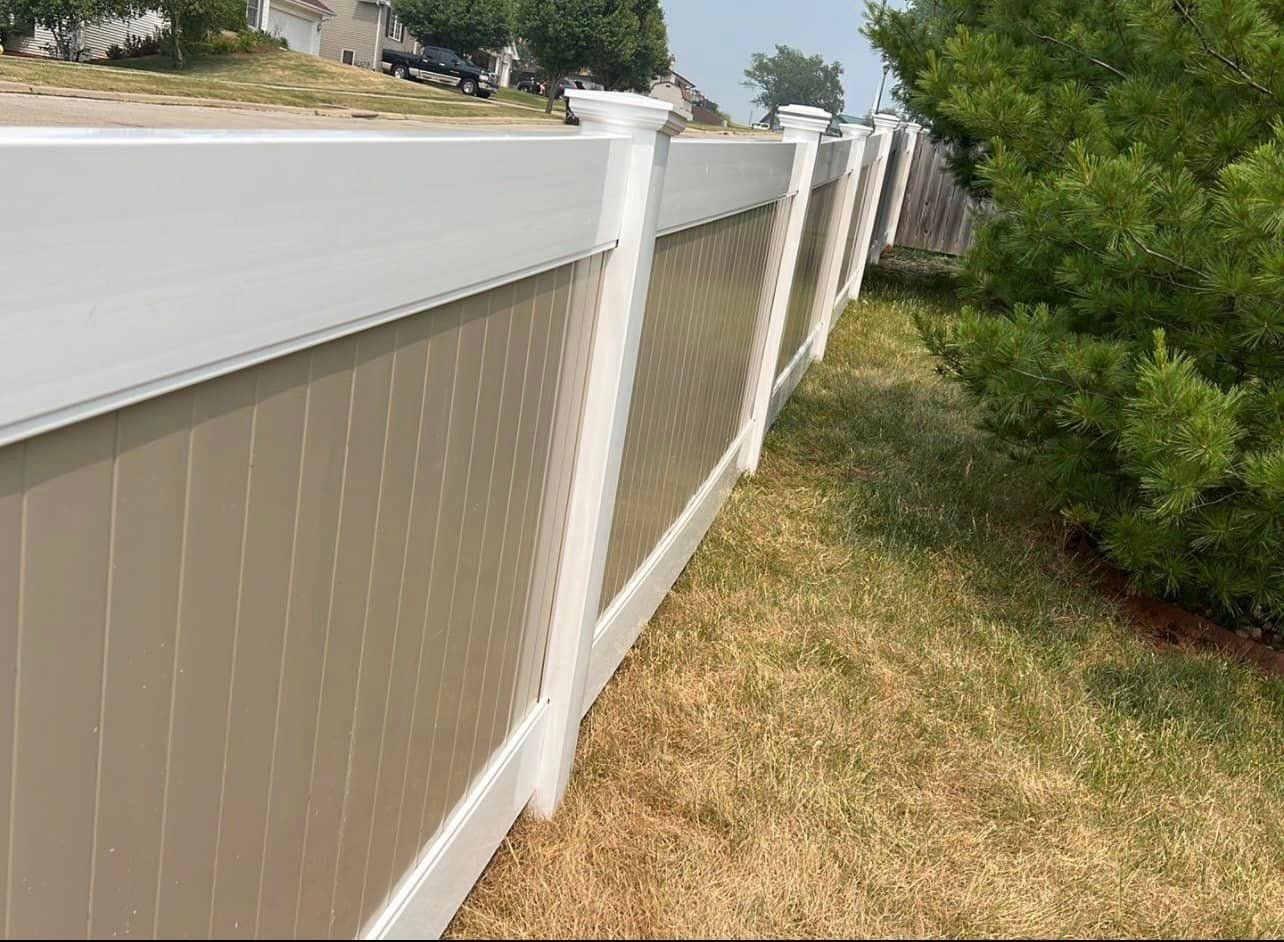
Once the posts are secure, the panels will be carefully installed between them. Vinyl panels typically come pre-assembled, which makes the process more efficient. Our team ensures each section fits snugly into the posts, creating a clean, polished look.
5. Final Touches and Inspection
After the panels are in place, it’s time for the finishing touches. Caps are added to the top of the posts to seal them off and provide a stylish element. At this point, your fence will also go through a thorough inspection to ensure every piece is secure and aligned perfectly.
6. Clean-Up and Reveal
No one likes a messy yard, and we don’t either! Our team will clean up any leftover materials or debris from the installation process. Then, we’ll take a walk with you around your property to ensure you’re completely satisfied with the results.
How Long Does the Installation Take?
Typically, vinyl fence installation can take 2–5 days, depending on the size of the project and the layout of your property. However, we’ll provide you with a timeline during the consultation phase so you know what to expect.
Tips for Maintaining Your New Vinyl Fence
After installation, taking care of your new vinyl fence is a breeze. Here are some tips to keep it looking great for years to come:
- Clean Occasionally: Hose it down with water or use a mild soap solution to remove dirt or grime.
- Inspect for Damage: Although vinyl is durable, be sure to look out for any cracks or loose panels after severe weather.
- Avoid Abrasives: When cleaning, steer clear of abrasive brushes or cleaners that could scratch the surface.
Why Choose ReVamp Fence & Deck?
At ReVamp Fence & Deck, we’re committed to making your vinyl fence installation as seamless and stress-free as possible. Our team is experienced, professional, and dedicated to providing top-quality craftsmanship. From the initial consultation to the final walkthrough, we’ll be with you every step of the way.
Take the Next Step to Transform Your Yard
Now that you know what to expect from the vinyl fence installation process, why not schedule your consultation? At ReVamp Fence & Deck, we’re passionate about helping homeowners like you create the perfect outdoor spaces. Contact us today to get started—and turn your dream fence into reality.
Let’s Get Started on
Your Free Quote!
Fill out this handy form or call us now at 844-4-FENCE-NOW to get your free, no-obligation estimate!